Zwobot v3.1 User Guide
How To Install Zwobot And Zwobot Modules
Windows user should install: VIDDLL and Spout.
Mac user should install: VIDDLL and Syphon.
No VIDDLL = no video playback!
It should then look like this
That's it. Enjoy Vjing.
More info: Zwobot Blog
Even if you don't have a proper Max license, that's no problem. Zwobot only uses the Max core.
Feature Overview Zwobot
Loading Files

• ① Drag'n'Drop different files or whole folders onto a Zwobot deck (A/B). The folder files will be shown in the dropdown menu. Single files will be played/shown as they are without overwriting folder files and preferences. You can start/stop/next/prev files via Midi automation or via the Remote extension.
• ② & ③ The Rack-Quickset module and the Rack module works like rack storage for your files and folders. You can simply drag'n'drop files or files/folders (folders Rack only) into individual Rack slots, re-sort them (via drag'n'drop), save them and reload the entire rack database in a Json/txt file (Rack only).
• While the first three methods work well with almost all video and image formats, the 4th method is limited to a few file formats like Mov Avi and Mp4.
• ④ You can simply drag a file directly into an Ableton Live slot (works only in Session mode). Just place the Sidecar module in your Ableton track and you can send the video information directly to a Zwobot deck. See video
• From Zwobot V2.8 it is possible to drag video clips directly into Ableton Live arrangement mode. This is an early experimental feature.
• If you like method 1 best, but want to use the clip launch method to start a video clip, you can simply use "dummy clips" with the RMOTE extension module. See video
Player Functions

Detailed Loop & Slice Editor

• Select the preferred slot for the slice ⑱ and set the slice in the slice-timeline ⑰. Now you can trigger the slice ⑱.
• If your video gets stuck at the beginning of a loop, please re-adjust the decimal of the loop start. You are probably on a wrong or no key frame in the video file. This usually happens only with large mp4/h264 files without proper set key frames. We recommend the MJPEG codeq for all your videos.
General Functions

• Do not use the Zwobot main module twice in one Ableton Live set. Zwobot has different rules than a regular audio or effects plug-in.
• Ableton Live and its audio playback is always on priority No.1! So if you load new effects or 3rd party plug-ins, Ableton Live always keeps playing, while Zwobot can get stuck for some milliseconds. This is a feature, not a bug!
• Zwobot will save all dialer/toggle/fx-connections/video and folder values within Ableton Live.
Video Routing

• Your video from the videoplayer deck ① & ② is routing through:
A/B Filter ➜ X-Fader ➜ Color-FX ➜ ③ FX-Connector ➜ Saturation/Contrast/Brightness ➜ Zoom ➜ Mirror/Kaleidoscope ➜ output window.
• EX ALPHA and EX MASK is not affected to any internal effects, it sends direct to output.
Extensions (EX modules)
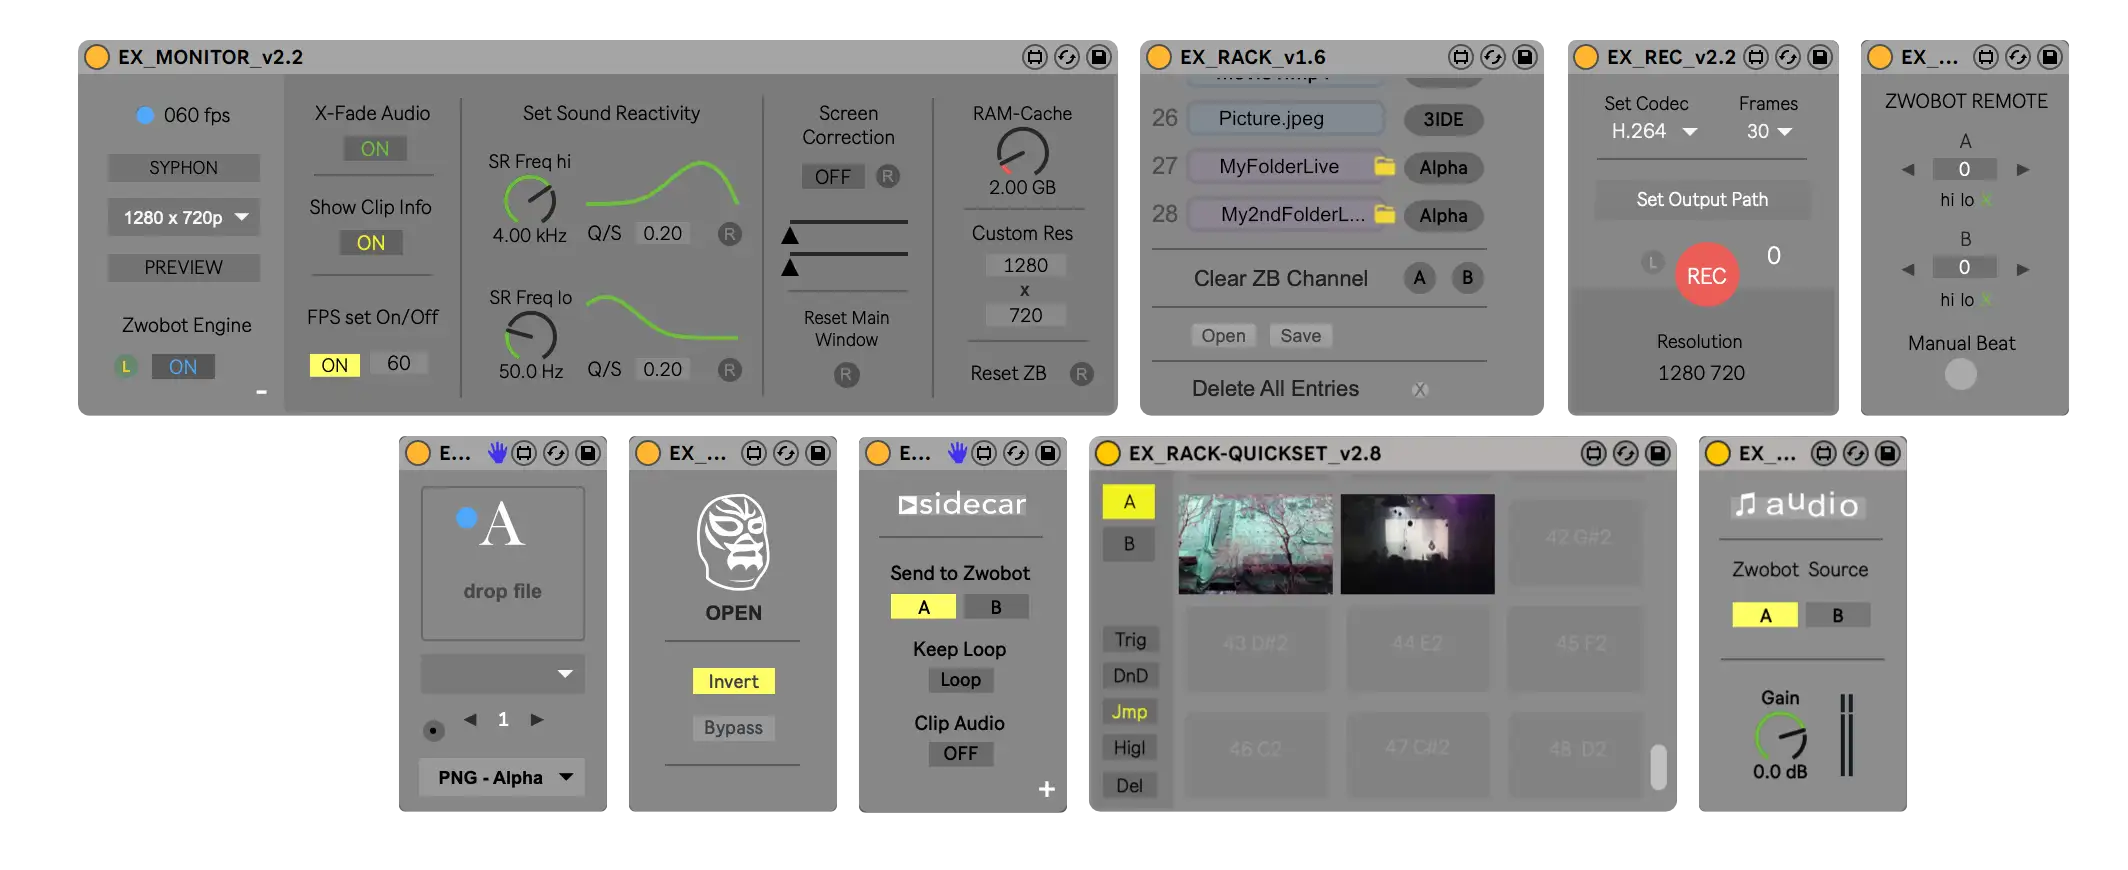
• Besides the RMOTE, VSEQ and RACK extension, do not use EX twice in one Ableton Live set!
Connect Effect Modules
How-to connect FX modules

• ④ Pass your effects if you temporary no need them. Effects may take CPU/GPU even if they are not connected. Connected FX are bypassed by default.
• Drag and drop the drop down menus back and forth to change the FX positions and its routing. You can also disconnect/remove the effect entries by dragging the FX entry to the Reset button ③.
• ⑦ Disconnect the connection and disable the module.
• ⑧ If an FX/EX module is in another Ableton track than Zwobot, this (Z)-LED will appear. If you click on this LED, the view automatically jumps to the track in which Zwobot is located. (Jumper feature)
• ⑨ The Group FX Module (GRP) lets you easily connect up to 5 FXs to a single GRP module. Simply connect the desired FX to the GRP module and connect the GRP module to Zwobot.
Check out youtube to see how it works
Beat Control Function

② • All enabled Beat-Buttons takes the Beat-Control clock to the module dials, and all enabled dials will perform to the pre-adjusted beat. Beat function is always on the left lower dialer side.
③ • The Beat-Control bang can also be triggered by simply clicking on the Zwobot icon.
See video how it works
Sound Reactivity (SR)

② • Reset the SR to the default values. The default values fit a common range of electronic music.
③ • Select the frequency Hi Low X (high-pass, low-pass, disable) for the chosen dial.
④ • Adjust the SR sensitivity for the dial. Keep in mind that the pointer deflection is depending on the pre-adjusted value of every dial! So the pointer deflection can rise or fall depending on the pre-adjusted dial.
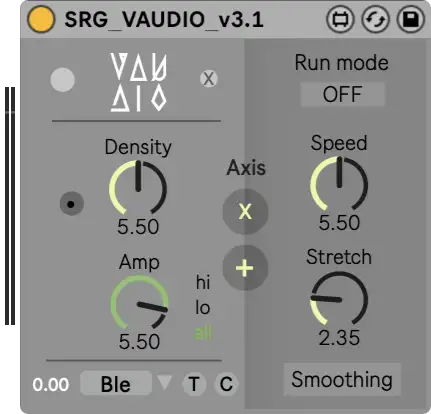
⑤ • Some Sound Reactive Generative FX - e.g. the Vaudio FX - have its own audio adjust dial independent from the Sound Reactivity settings in the Monitor Module.
⑥ • Enable signal smoothing for Sound Reactive dials. Signal smoothing makes the knobs move less jittery. This has no influence on the actual audio.
Effect Modules
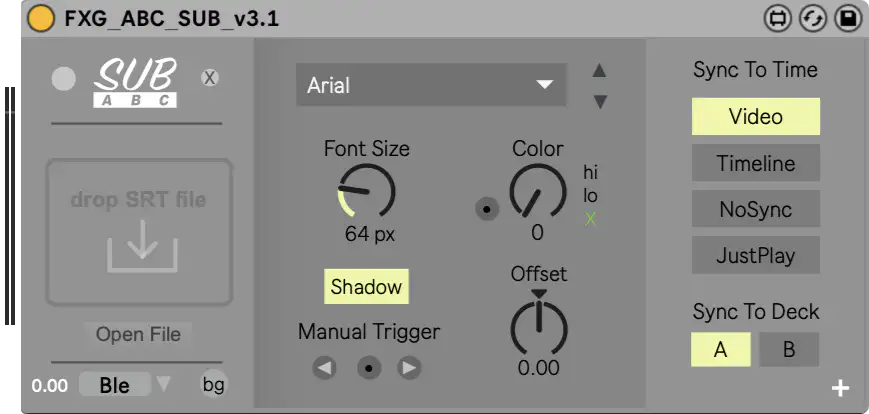
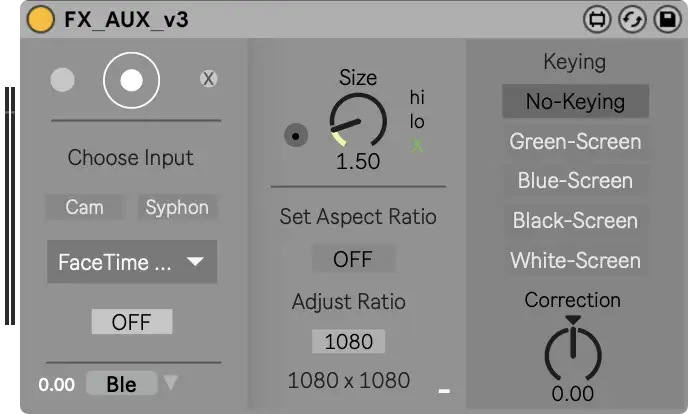
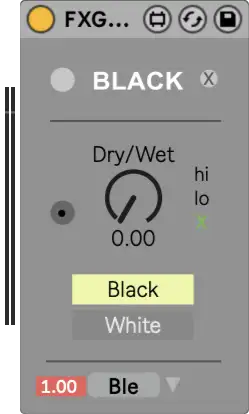
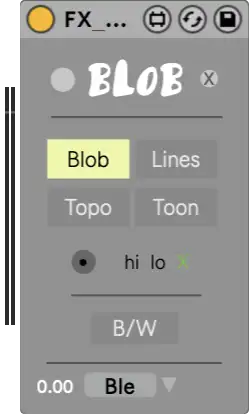
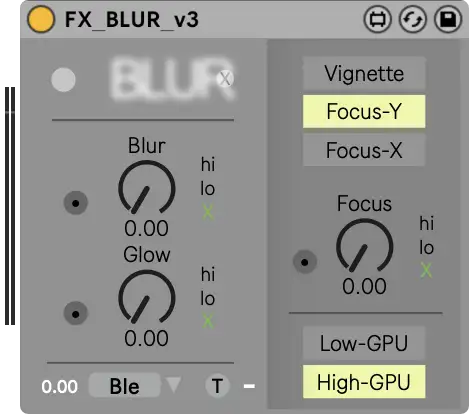
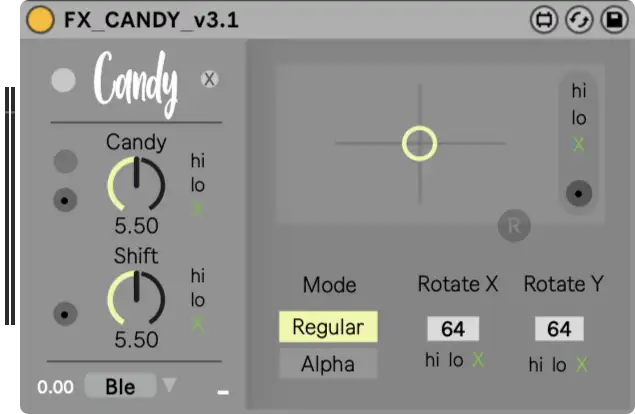
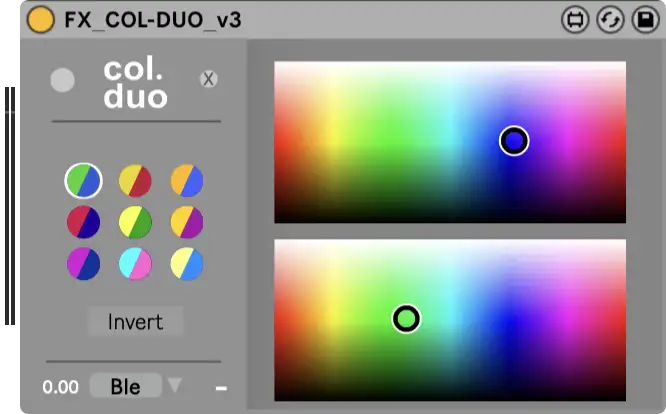
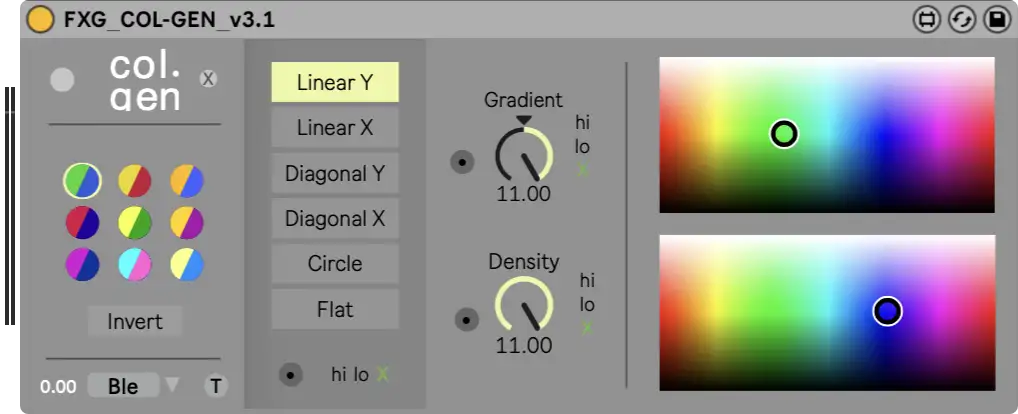
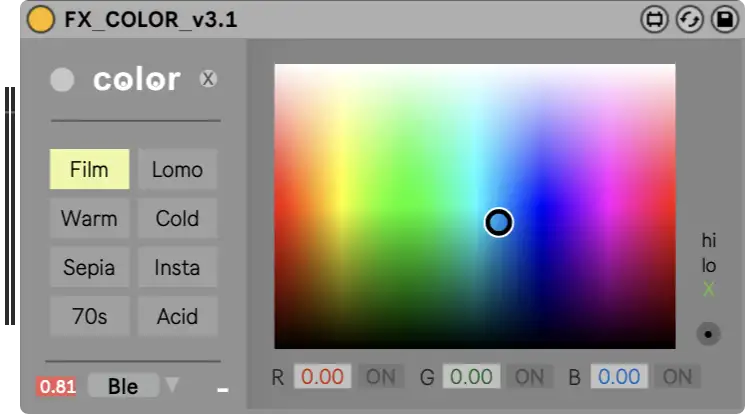
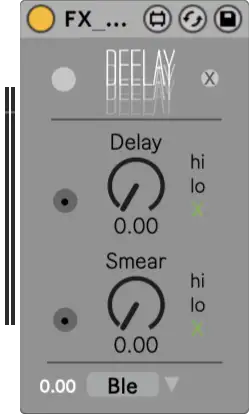
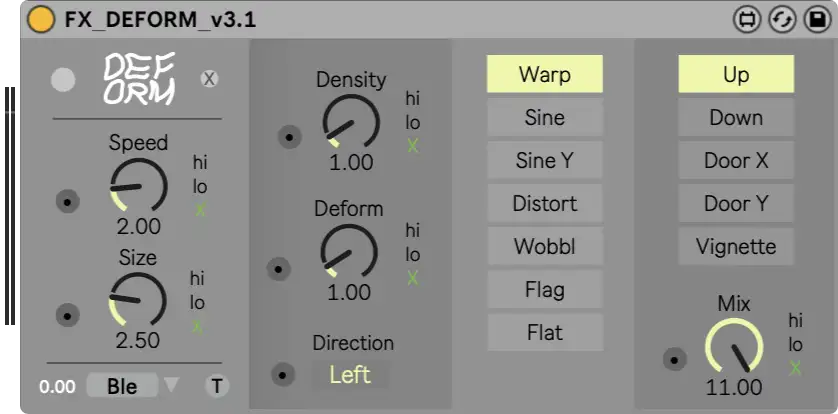
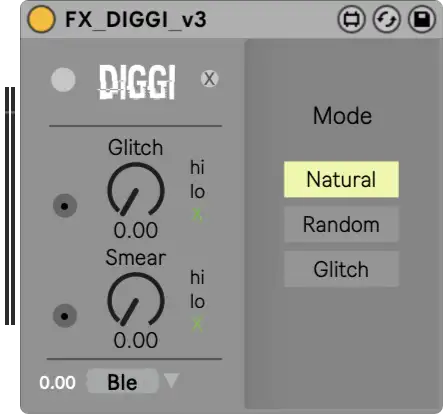
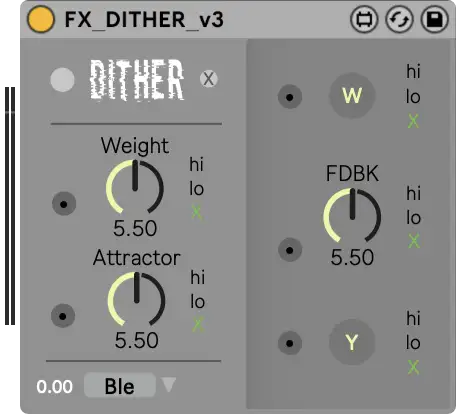
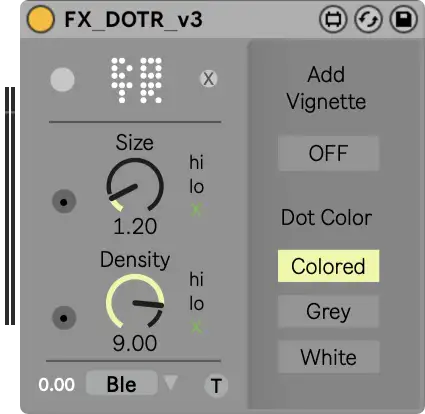
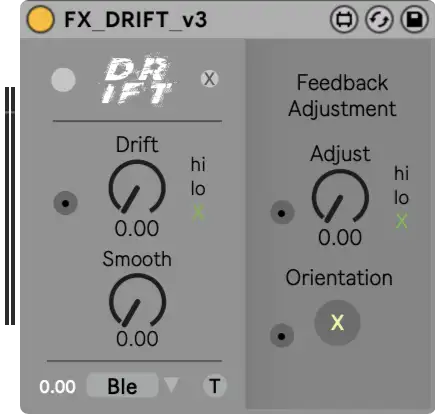
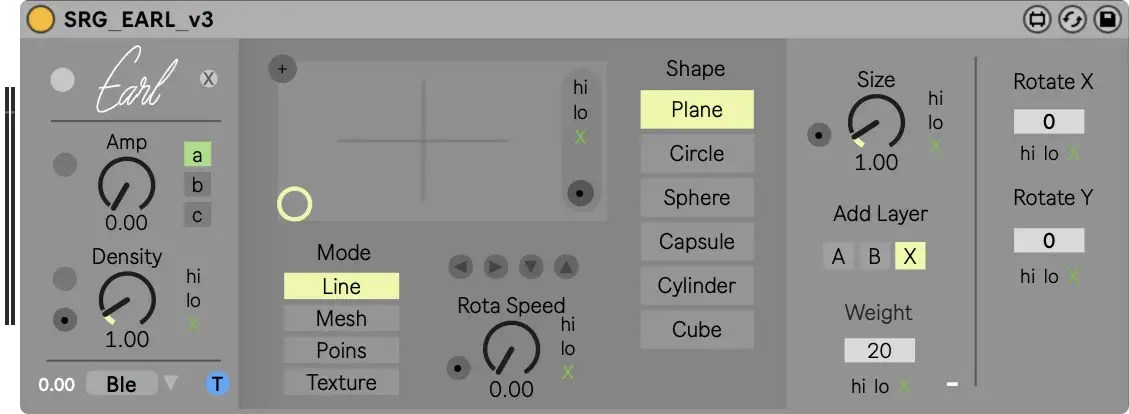
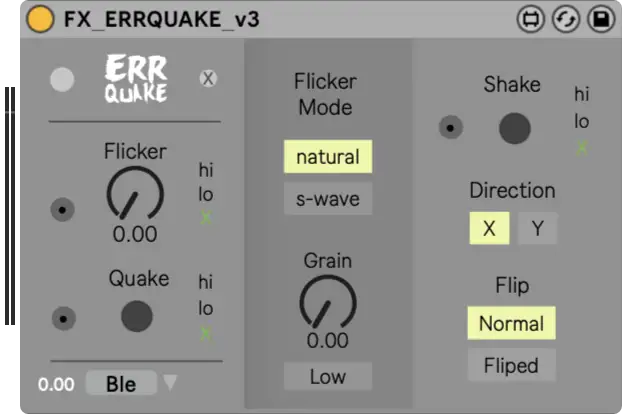
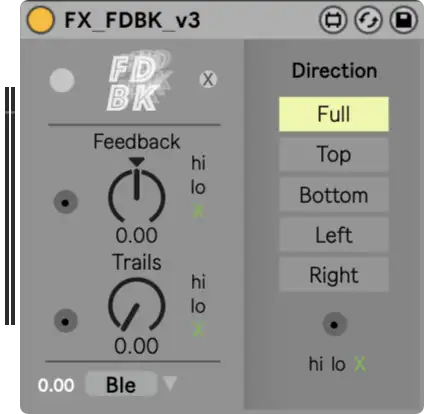
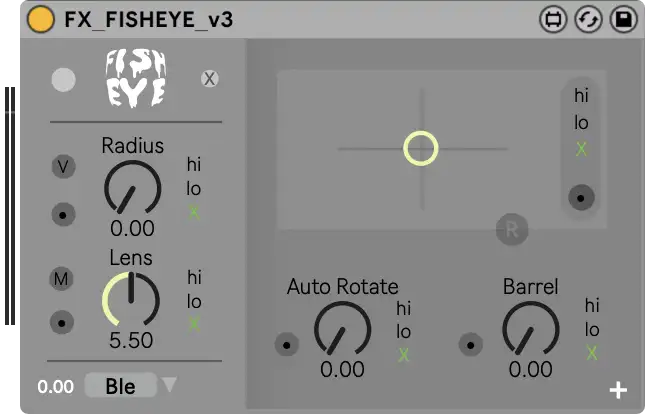
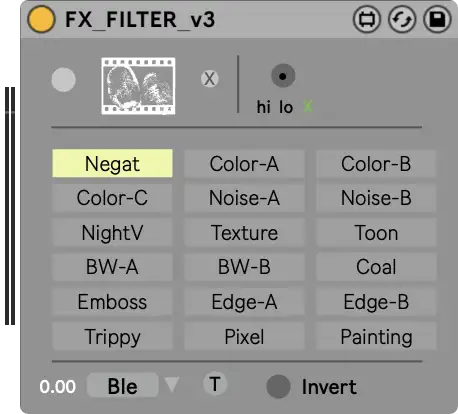
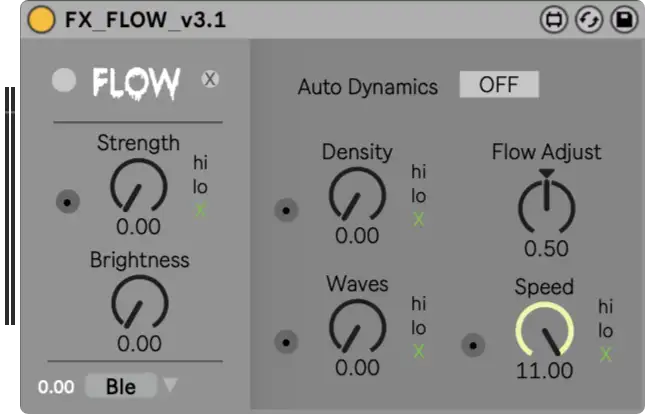
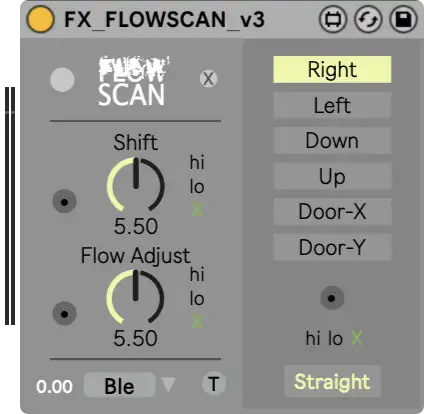
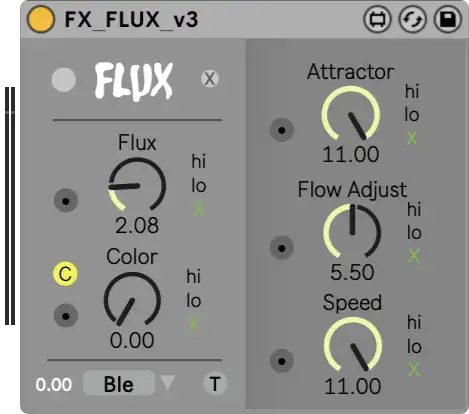
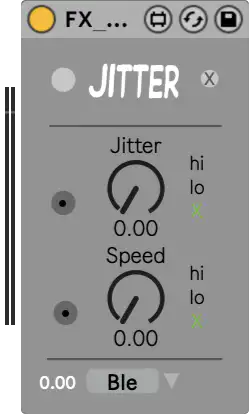
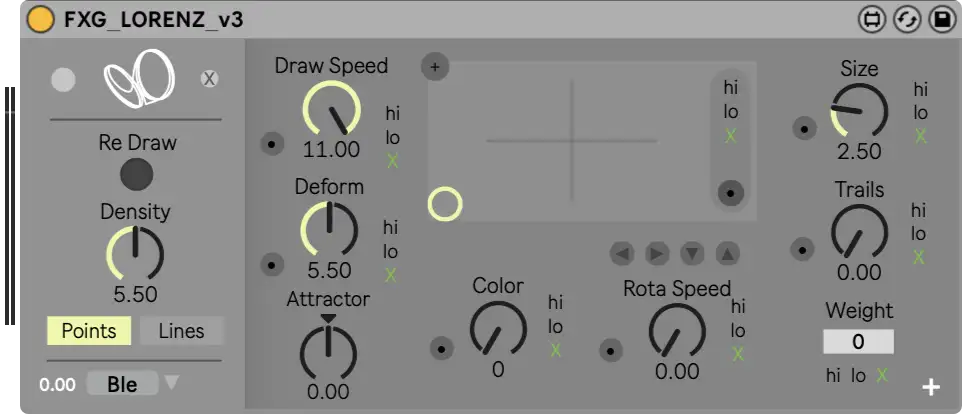
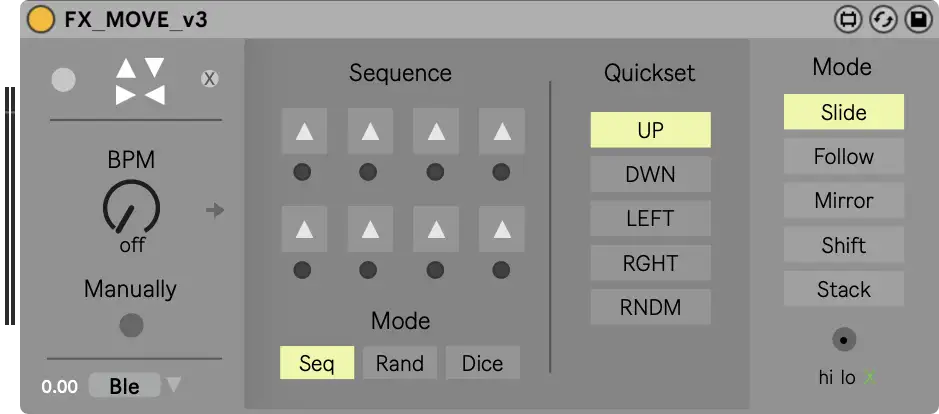
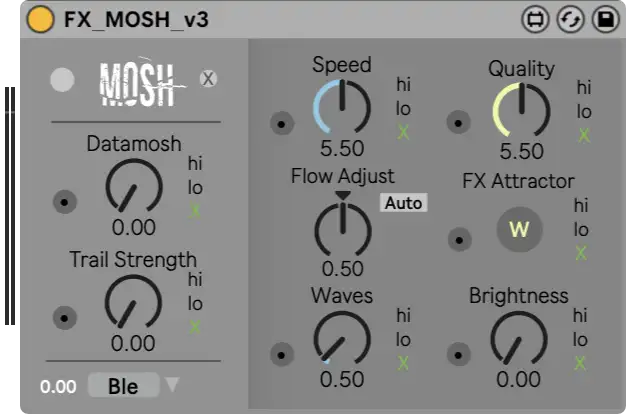
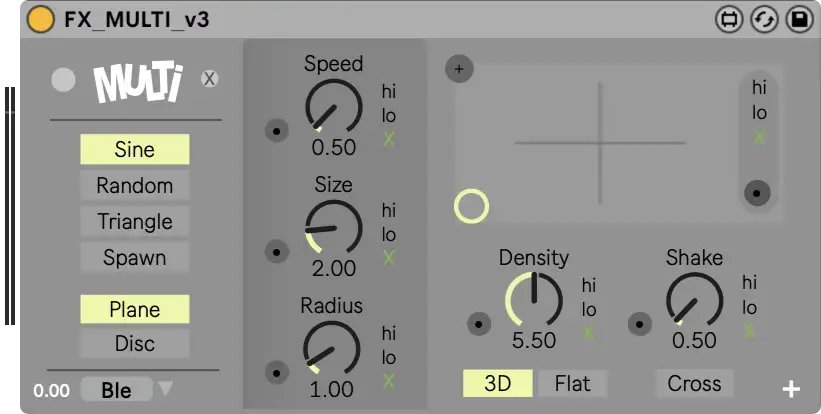
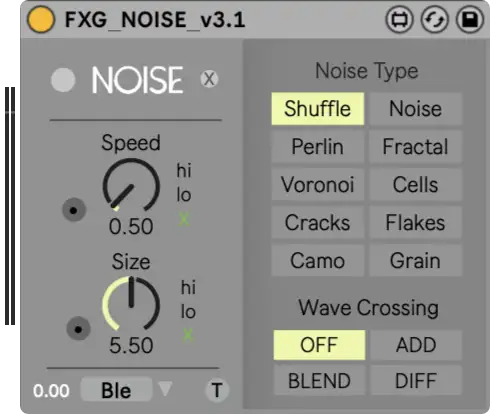
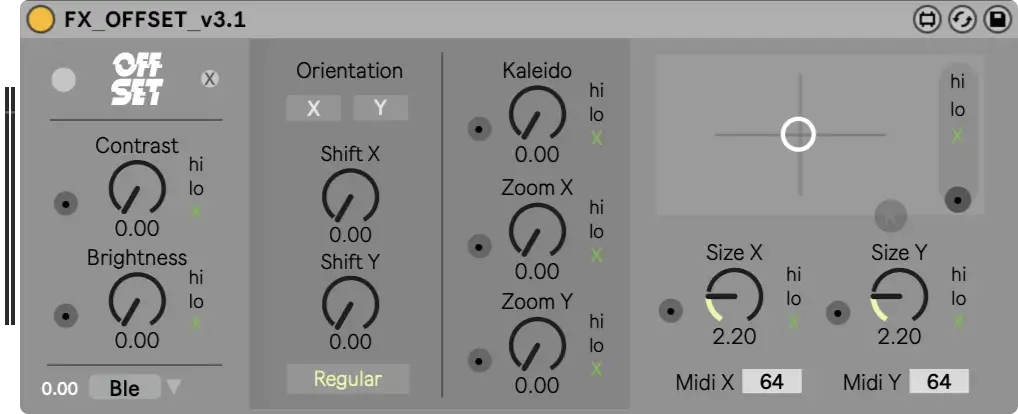
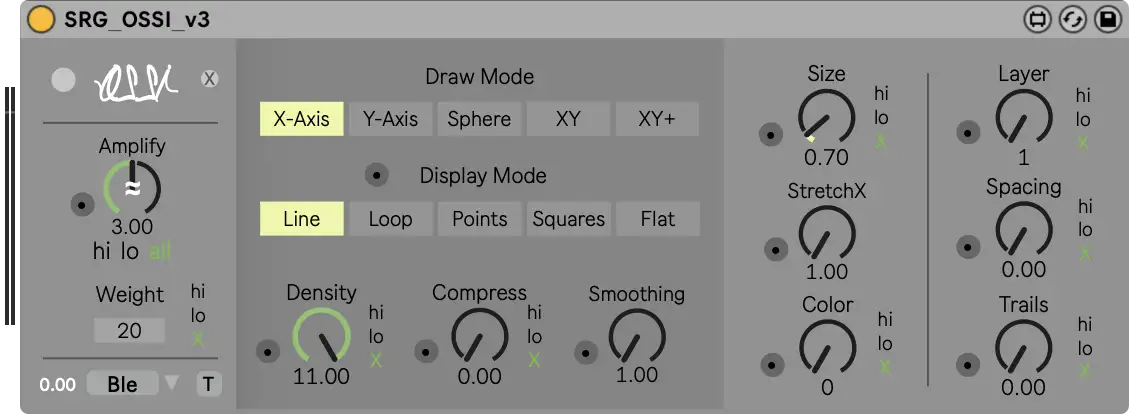
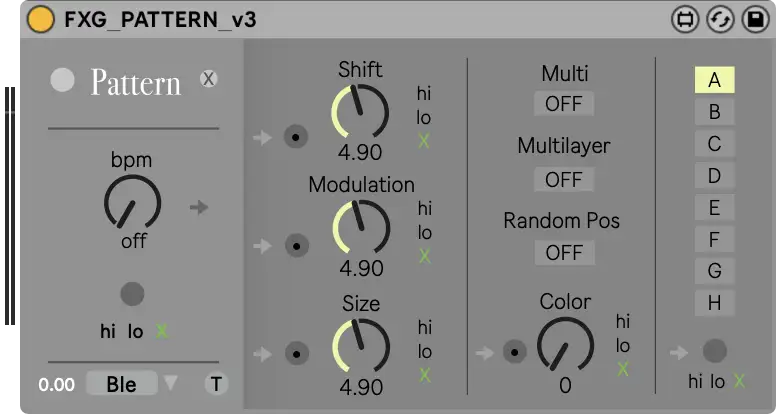
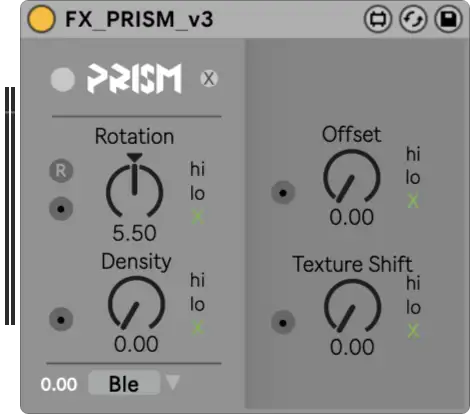
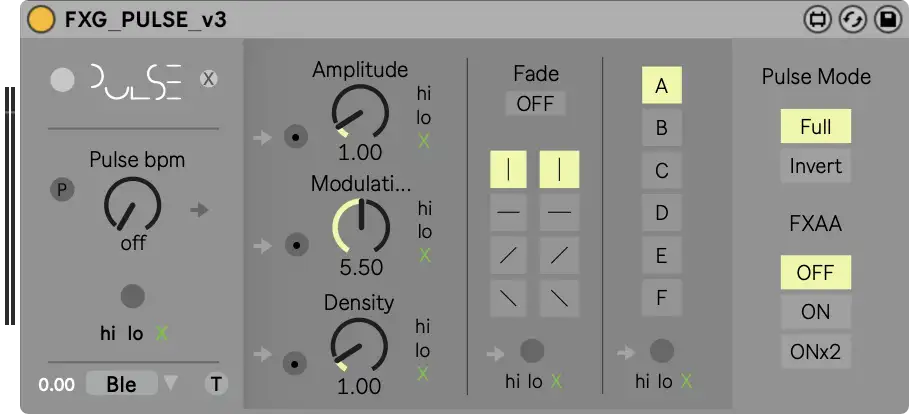
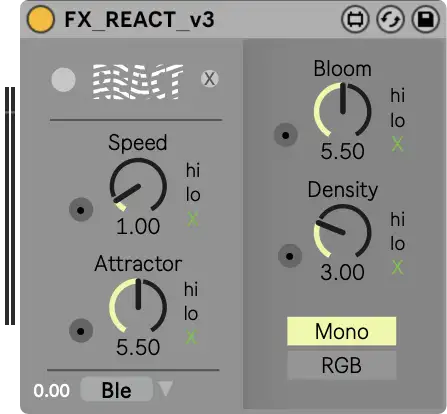
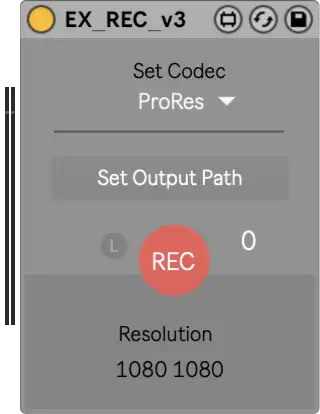
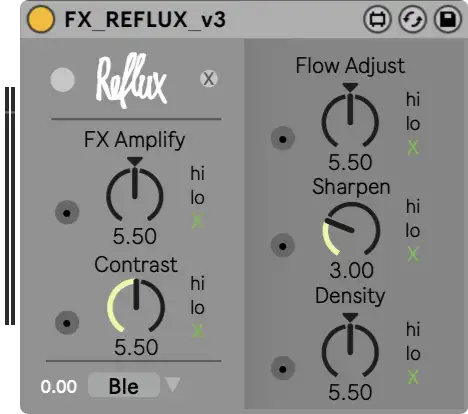
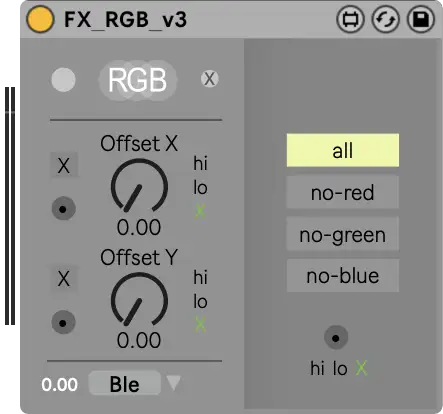
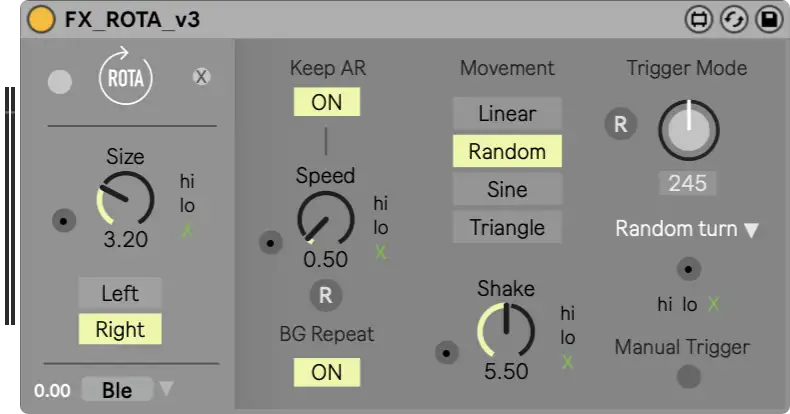
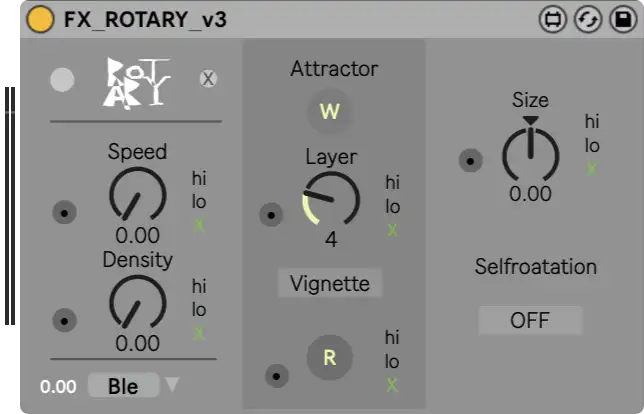
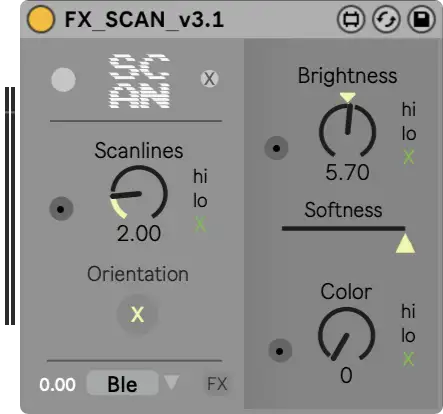
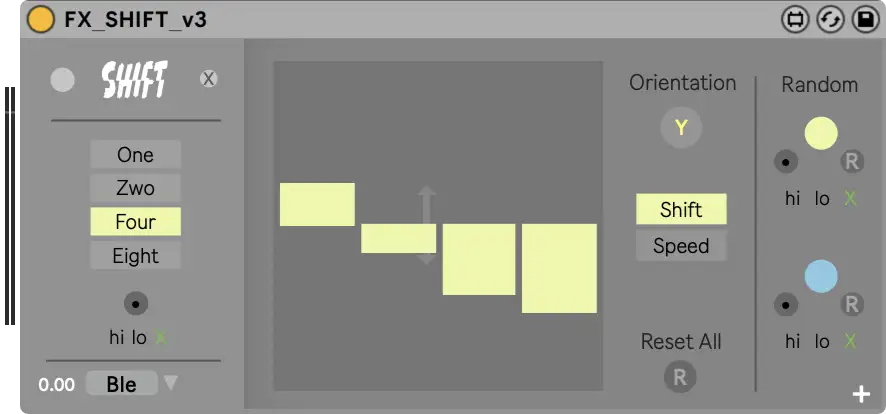
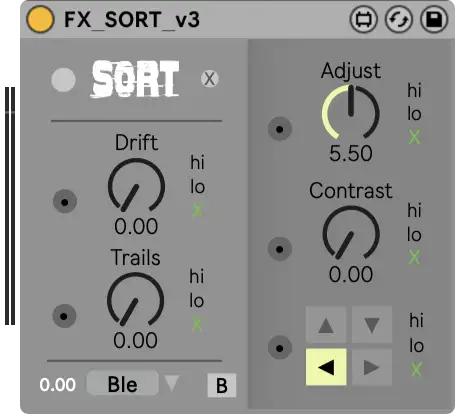
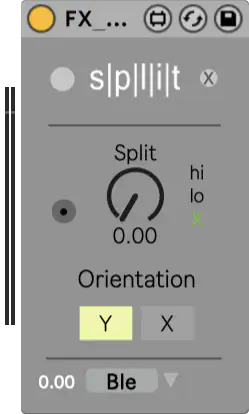
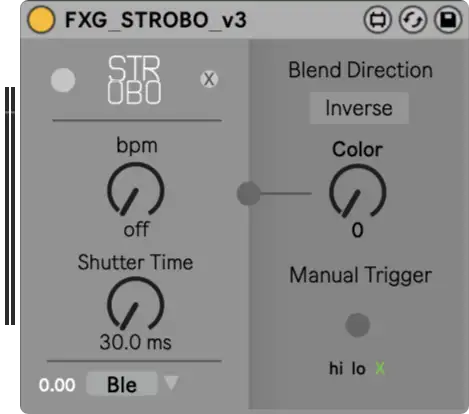
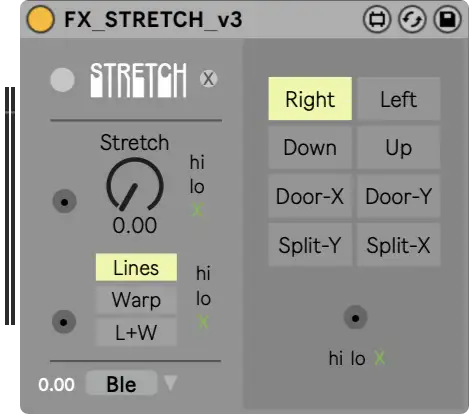
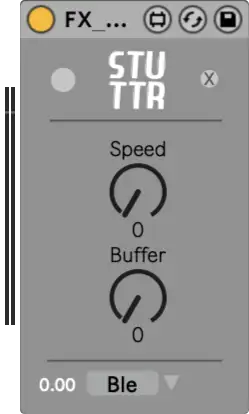
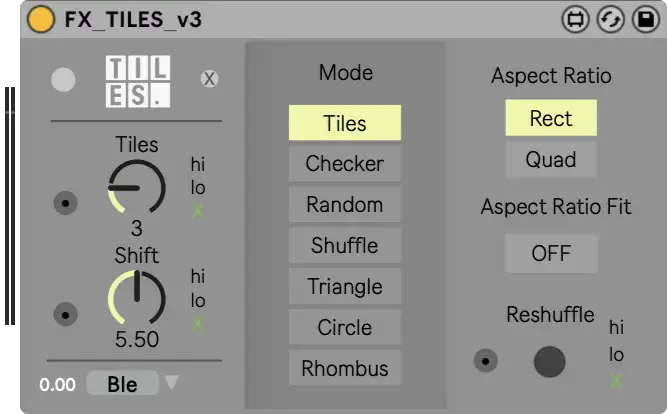
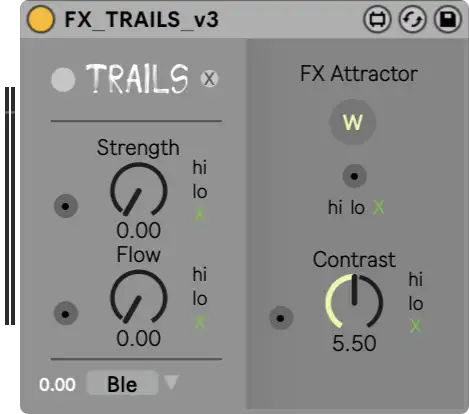
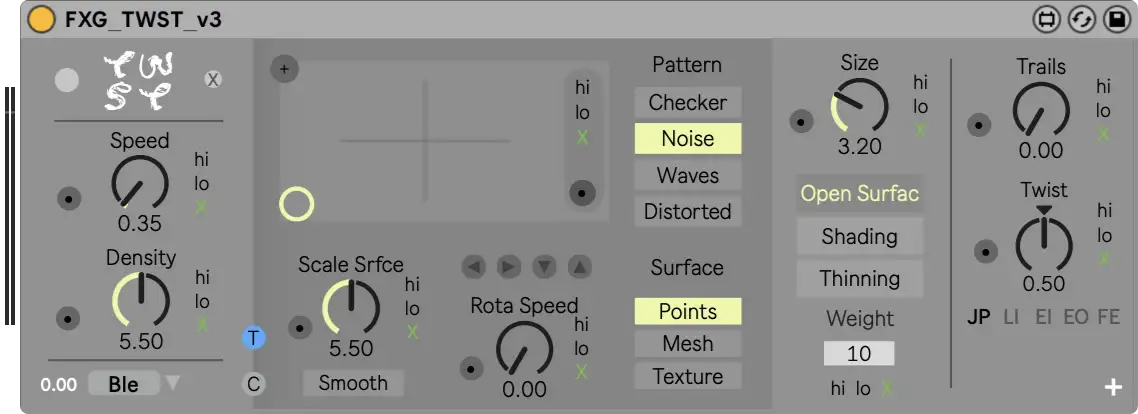
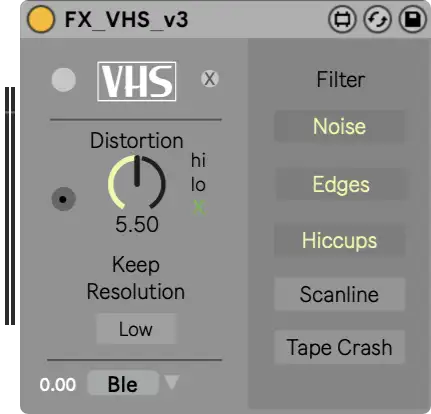
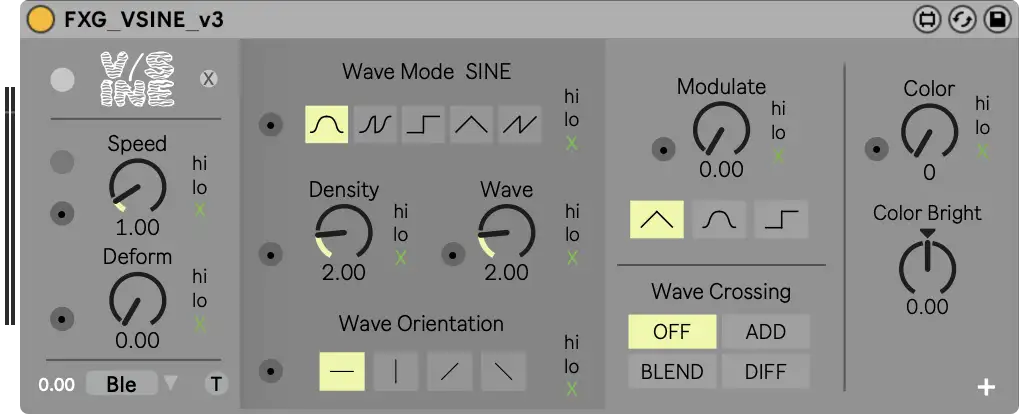
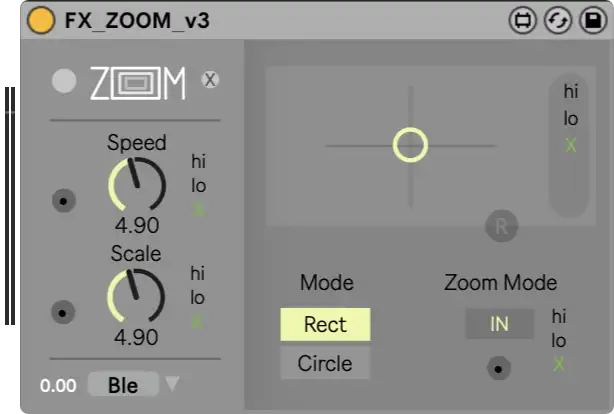
3D • ABC • ABC_SUB • AUX • BLACK • BLENDER • BLOB • BLUR • CANDY • COL-DUO • COL-GEN • COLOR • CRUNCH • DELAY • DEFORM • DIGGI • DITHER • DOTR • DRIFT • EARL • ERRQUAKE • FDBK • FISHEYE • FILTER • FLOW • FLOWSCAN • FLUX • IMAGE • JITTER • KETA • LAYER • LINR • LOOPER • LORENZ • MOVE • MOSH • MULTI • NOISE • OFFSET • OSSI • PATTERN • PEEK • PETRA • PLOTTER • PRISM • PULSE • REACT • REC • REFLUX • RGB • ROTA • ROTARY • SCAN • SHIFT • SORT • SPLIT • STROBO • SHUTTER • STRETCH • STUTTER • TILES • TRAILS • TWST • VAUDIO • VHS • VSINE • ZOOM
Performance Guide
Short Story
• The bigger your video files are (resolution) & the more effects you'll use = less FPS!
• Keep the sample rate in Ableton Live low (e.g. 44100/48000).
• Audio-buffer settings influences the fps of Zwobot. Change your audio-buffer settings in Ableton Live and try what's best for you to work with Zwobot & Ableton Live. A good value to start is 128/256 samples.
Long Story
• First things first: The CPU Monitor in Ableton Live is for AUDIO ONLY! It just shows the audio occupancy rate from Ableton Live.

(CPU monitor in Ableton Live is audio only)
This is in most cases good, but even we are running Ableton Live without any audio, Zwobot will always have just a low CPU priority.
That means we have to know what we are doing and look around what we can afford.
Zwobot has 2 video players (A & B), those players running full on the CPU (Max Viddlle Engine). Also all dials and button values affecting the video playback can decrease the CPU power. (see upcoming picture)

CPU encoding of the video (the player tries to play all videos on their set fps stable), and these fps then run into the GPU. Here, the video is converted to the internal Zwobot resolution for further effects, the lower the resolution is set, the better the performance.
The GPU receives the fps (e.g. 30fps), and then calculates the effects on top of it, i. e. 30 calculations per second, per effect.
Since the GPU sometimes doesn't get behind (especially at high resolutions) frames are skipped. Result: less FPS.
Have an eye at the upcoming picture.

For super fast performing without huge CPU or GPU loss we absolutely recommend an "Interchange" video codec like Motion-JPEG or the HAP codec.
An "Interframe" codec like h.264, h.265, av1, vp9 may takes way less disc space, but the more compressed the video is the more decode power (CPU) is needed.
If you don't want to "scrub and jump" like hell within a videofile an Interframe codec - like h.264 - is just fine. For heavy "loops and jumping" within the video-file we absolutely recommend an interchange codec like MJPEG. (MJPEG is our preferred codec)
We clean all our equipment once a year, and each time we have a noticeable increase in performance after cleaning.
Further improvement suggestions
• (Win) Disable VSYNC (vertical synchronization) in your GPU/driver settings. Enabled VSYNC can drop your frame rate extremely!
• (Win) Enable "High Performance" in your power management settings.
• (Win) If you have any trouble with Fullscreen (crashes etc) please disable HiDPI (Live 10) in Preferences > Look/Feel > Disable HiDPI.
• Don't use any Bluetooth,- and/or 3rd party routing-drivers etc. For best performance, all our audio interfaces and computers run on 256 to 512 samples at a bit rate of 44100Hz.
Try different settings in Ableton Live for best fps. In some cases less buffer size (e.g. 256) is the best solution. But in general, the higher the buffer settings in Ableton Live, the less GUI lag you'll have. A good value to start is 512 samples.
• Please don't use any special 3rd party video codecs "Made for Ableton Live" (Yes, there are some weird stuff in the world wild internet) Those may crash Zwobot!
• Close all high-GPU-needing software! Photoshop, video apps, 3D-tools and even your Internet-browser may take a lot of GPU (YouTube). All of them "can" cause some critical issues. Especially in live situations!
• Use 64bit Ableton for better overall performance.
• Freeze as much as possible in Live. More Ableton Live effects and plug-ins: less performance.
• You don't need more than 44khz audio output in a live set. Really.
• Bypass your effects (pass/bypass-button) if you temporary no need them. FX modules may take CPU/GPU even if they are not connected.
• If there are less than 30fps, sound-reactivity on the FX modules may decrease noticeably.
• If you are in a club/on a stage and adjust the projector, check if there are visible differences between the next lower resolution settings. If not, go down to the next lower possible resolution!
• When you have a live session, always remember to cool down your Macbook/Laptop/Notebook. It can get pretty hot on a stage. From about 25 °Celsius (77 °Fahrenheit) the temperature controllers start to throttle and shut down the CPU/GPU.
• Our suggestion for encoding your video-files into MJPEG files is Permute (Mac) FFworks (MAC) and XMedia Recode (WIN free)
• If you still have low fps, write us: info@zwobotmax.com
Questions And Answers
If you don't need audio to control your fader/dial effects, it doesn't matter on which track you are running Zwobot.
You can put Zwobot and modules in different tracks.
Run Zwobot in a midi channel/track (e.g.) and modules independently in an audio channel/track.
SR (sound reactive) modules need sound for working. So put them in a audio channel/track.
We prefer to use Zwobot in a separate Ableton Live return track.
Zwobot has an integrated recorder module, and you can send/share your outgoing video to other apps who support Syphon (Mac) or Spout (Windows). Some solutions will take a lot GPU/FPS.
The Zwobot recorder module records in h.264 with any frame-rate you like. Unfortunately it is not so high-powerful as other solutions since we need to draw and record at the same time with the same GPU in the same environment.
We personally use Syphon Recorder (free/Mac) ( Syphon Recorder direct download ) but mostly Screenflow (Mac) to record all Zwobot stuff. We can also recommend OBS (free/WIN/Mac) and Spout Recorder (free/WIN).
If you install this Spout plug-in in addition to OBS, you have the option to record in OBS directly from Zwobot via Spout(WIN).
For a smooth recording result, set Zwobot in the Zwobot Monitor Module to 60 fps and the recording software to 60 fps as well.
Syphon and Spout recording solutions record direct from your graphics card without huge performance loss.
There is another solution called HDMI grabber/ video capture devices. Those are hardware recorders who record directly from the HDMI stream/cable between your PC/Mac and your external screen.
We highly recommend this hardware solution on low spec computers because it's cheap and you won't have any loss of performance because it's an external device.
Even cheap capture devices like the "AGPtek HDMI capture" work well.
---
For most software recording solutions you'll need a sound bridge to get the audio from Ableton Live into the recording software.
we recommend:
https://rogueamoeba.com/loopback/
https://jackaudio.org/ (free)
https://github.com/ExistentialAudio/BlackHole (free)
You can place Zwobot in any folder you like, BUT for future compatibility and to share FX-chains (share and load) we strongly recommend placing the Zwobot folders in the Ableton User Library folder.
The end-user license of Zwobot is linked to your email address with which you bought Zwobot. If you would like to have your license at a different address, simply contact us.
If an update is pending, you will get an email with a download link. You don't need an Gumroad account or something. Just replace your old files with the new ones. Replacing your files with the new ones should not destroy your Zwobot stuff in your Ableton Live projects.
Use hot-swapping in Ableton See video for replacing the old Zwobot modules with the new ones.
If Zwobot crashes Ableton Live, in 98% of cases, an (outdated) third-party device (Max tool or Vst plugin or a broken remote script) is not compatible with Zwobot. Please always make sure that no other plug-ins cause interference. Third-party Romote scripts in particular can cause crashes upon startup.
Also, a common cause is that old incompatible or corrupted modules are loaded, so please always delete the inside of the M4L folder first:
Mac "/Users/Documents/Max8/Max for Live Devices"
Windows "My Documents/Max8/Max for Live Devices"
External hardware can also cause Ableton or the entire system to crash.
Avoid using cheap (HDMI) cables, splitters or hubs. It is best to only use your own tested cables/hubs at a venue. Do not place your hub next to your power supply.
And please update your GPU drivers.
If you are really sure that only Zwobot will cause Ableton Live to crash, please write to us: info@zwobotmax.com
We have a few routines to find out as quickly as possible why things are not working for you.
In some cases, Zwobot stops working after Mac updates and displays the following error message: ‘ZWOBOT.amxd contains externals that are not compatible with Apple Silicon. Consider running Live under Rosetta’.
Please uninstall VIDDLL, restart Max and reinstall VIDDLL. See: Max Package Manager
If you do not receive a Spout signal from Zwobot, make sure that you have installed the Spout package via the Max Package Manager and install the Spout tools from the Spout website
Then you can customize the Spout settings (DirectX) for your system.
Just talk to us! A lot of improvements in Zwobot are user driven (Rack module, Jumper, ABC, Alpha, the new Blender module et cetera). Just explain what's your plan, and why we should put this feature in Zwobot.
Any other questions? Feel free to ask via email: info@zwobotmax.com
© Zwobot 2025 - info@zwobotmax.com


